Salta al contingut principal

How To Use Zoom Blur To Add Action In Your Photos

How To Use Zoom Blur To Add Action In Your Photos:

Most of us own a zoom lens of one type or another. While I have no specific stat, I’ll say 98% of us do. It seems like a good number and might even be low.


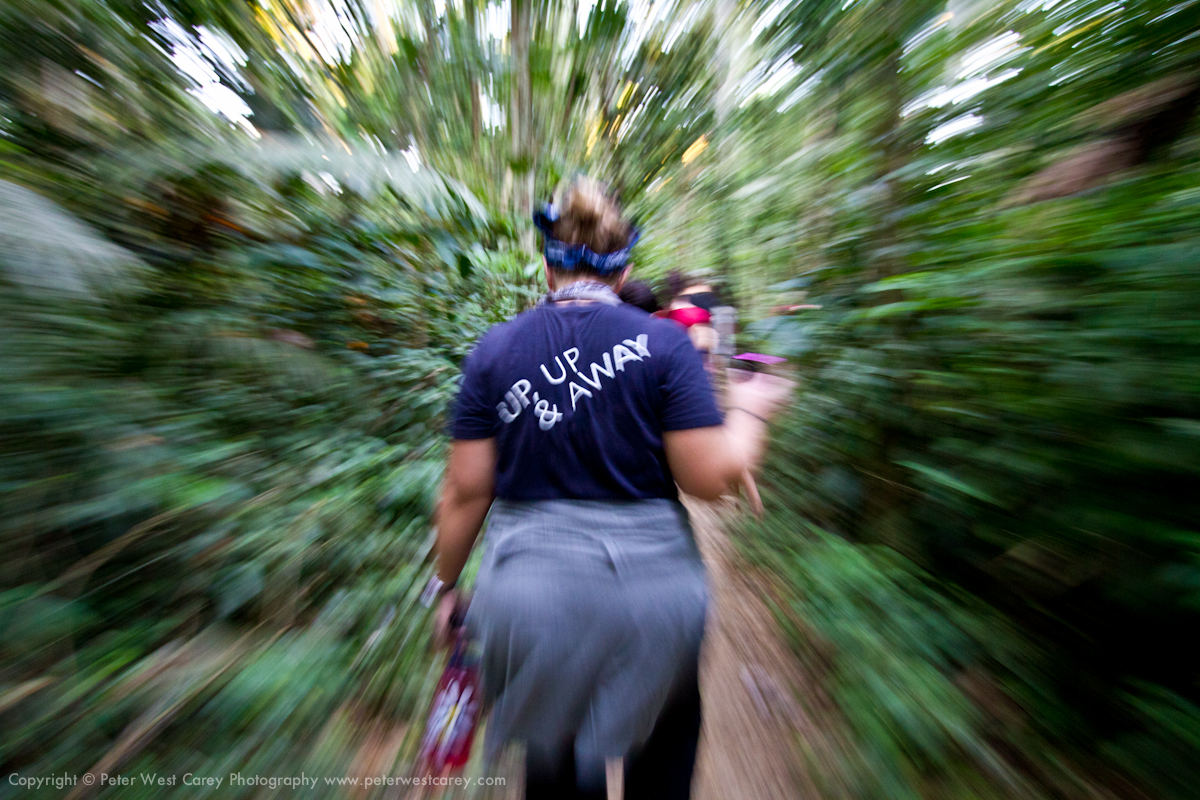
With nearly all of you armed with this type of lens, let’s take a look at a fun way you can add action to your photos. The technique is actually quite simple but takes some practice to master. It is known as zoom blur; blur caused by activating the zoom feature on your lens while the shutter is open. NOTE: While the same effect can be achieved by physically moving your camera closer or further from a subject while shooting, we’ll stick with the zoom feature in this post.


There are three factors that are most important when using zoom blur:


  • Where you start the blur (zoomed in or zoomed out)

  • How much zoom travel

  • How long you spend with the shutter open


Where You Start The Blur


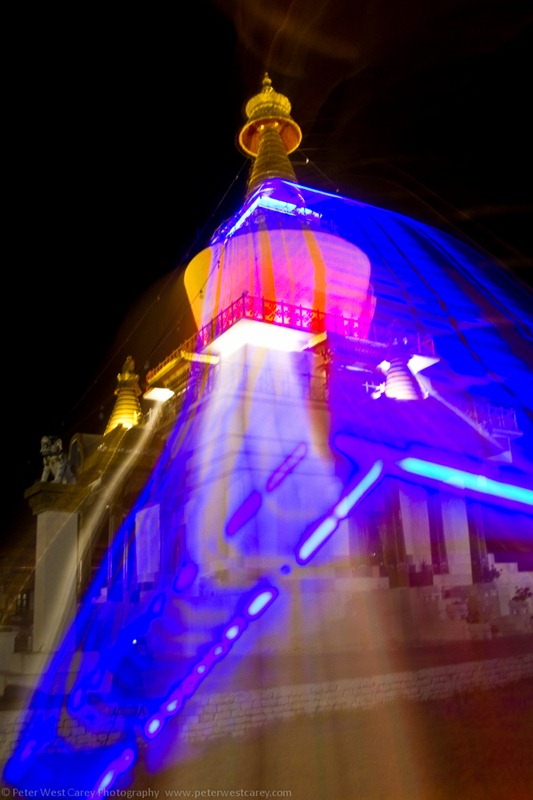
Where you start has a big impact on the outcome of the photo. You can either start zoomed back or zoomed in. My preference is typically to start zoomed out and I’d suggest it for anyone starting out. The reason is it typically allows for the clearest image of the subject before the zoom blur is added. It also gives more of a feeling of the object moving away from the photographer. Here by example, are two different shots of the Memorial Stupa in Thimphu, Bhutan. First, going from zoomed in to zoomed out. (Click on each image for a larger version.)


PeterWestCarey-Bhutan2011-1027-8718


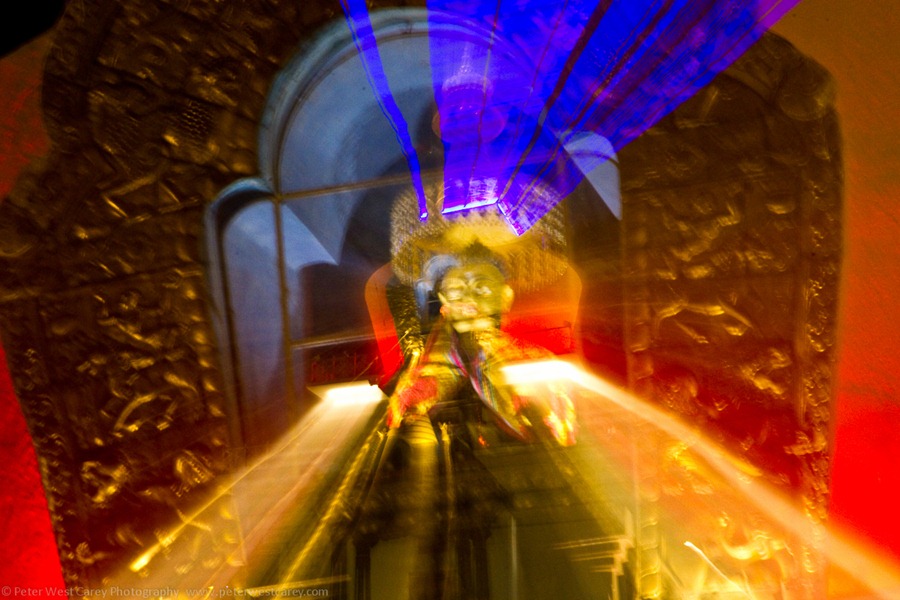
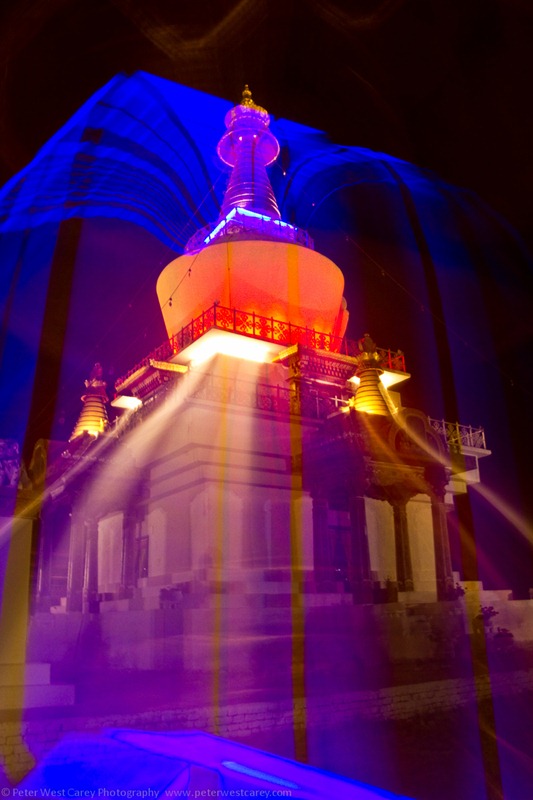
This image is dominated by the golden frame around the statue as compared to the full stupa in which is sits. This is mostly due to the shutter length (1.6 seconds) and spending more time zoomed in than in transition. For a second example, this shot was started zoomed out and then, using a tripod, I zoomed straight in.


PeterWestCarey-Bhutan2011-1027-8741


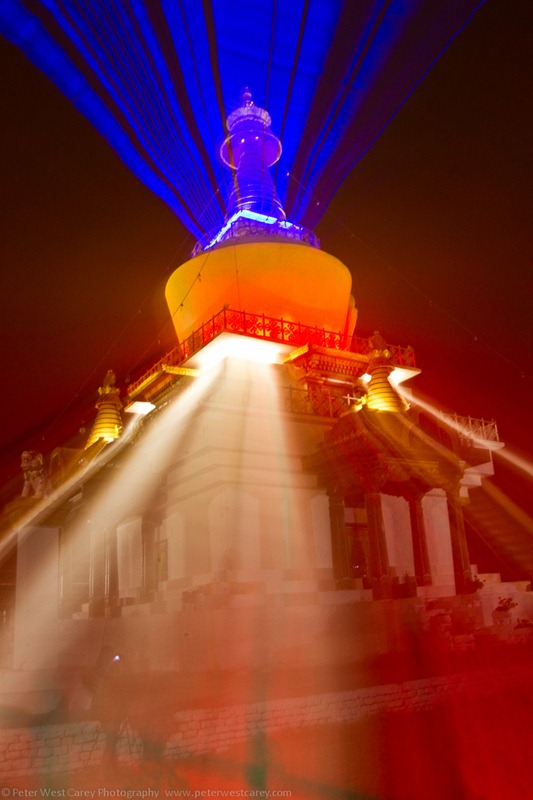
This shot was 2 seconds long and I allowed more time at the beginning to burn in the stupa image before zooming in. Allowing more time toward the main subject, versus time spent zooming, will allow your main subject to stand out more.


How Much Zoom Travel


Next, it matters how much you zoom while the shutter is open. For the shot above, I wanted the lights to extend all the way off the screen. But it didn’t quite work as too much light filled the screen for my liking, obscuring the stupa. Instead, I decided to zoom only part of the way in, hoping it would allow for more of the scene to be visible. I also started further zoomed in to see more of the base of the stupa.


PeterWestCarey-Bhutan2011-1027-8728


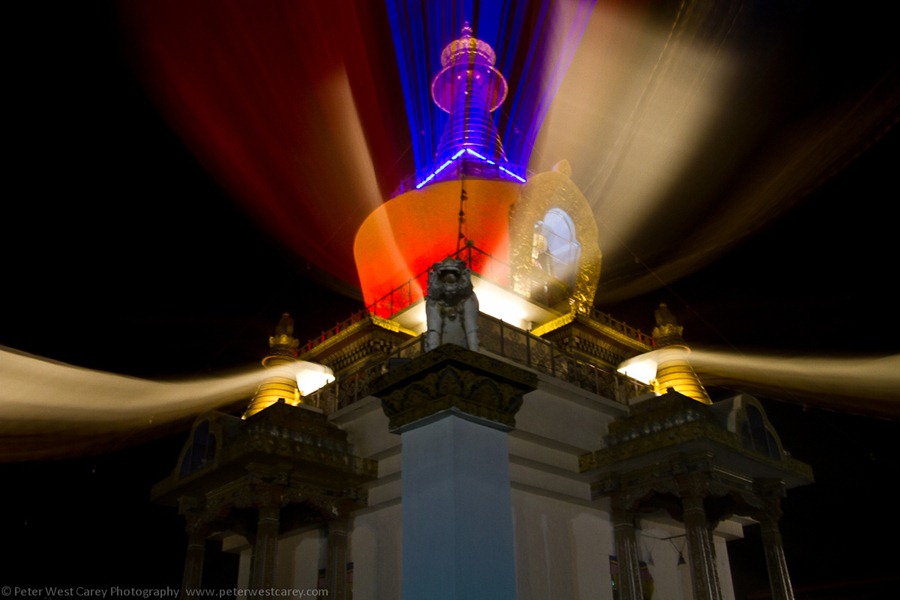
I am also helped here by the center point of the zoom being lower than the brightest lights. This helps when the scene is brightly lit and the light can have a tendency to wash out areas of the subject. For instance, the statue in the center is not blurred because the zoom was fast enough to not let too much of its light be exposed.


BONUS TIP: Give It A Bit Of Movement


Especially when dealing with lights at night, adding in a bit of movement can give some interesting effects. For instance, in the examples below I panned slightly up or down to change the path of the blurring lights.


PeterWestCarey-Bhutan2011-1027-8742


PeterWestCarey-Bhutan2011-1027-8736


I will be the first to admit these images aren’t stellar, put-on-a-magazine-cover images. They’re about experimenting and having fun. At times though, with practice, zoom blur can produce some remarkable results as seen in the examples below from Flickr.


Copyright Ernst Vikne


Copyright Balamurugan Natarajan


Copyright Heather Wizell


Post originally from: Digital Photography Tips.


Check out our more Photography Tips at Photography Tips for Beginners, Portrait Photography Tips and Wedding Photography Tips.


How To Use Zoom Blur To Add Action In Your Photos


Comentaris

Entrades populars d'aquest blog

15 Tutoriales CSS3 para mejorar tus paginas web

15 Tutoriales CSS3 para mejorar tus paginas web : Les dejo una pequeña recopilación de tutoriales CSS3 que espero sean de utilidad para ustedes, intentamos hacer una recopilación bastante completa para crear impresionantes diseños web con CSS3 y aprovechar las bondades de CSS3 incluso para aplicar efectos, son un total de 15 tutoriales CSS3 gratis . Crear menu dropdown con CSS3 Crear breadcrumbs con estilo Transiciones de paginas con CSS3 Crear timeline con CSS3 y jQuery Reproductor de video con HTML5, CSS3 y jQuery Crear efecto acordion CSS3 Aplicar degradado a texto Crear texto en curva con CSS3 y jQuery Aplicar textura a texto con Magic Pill Crear slider de imagenes con CSS3 y jQuery Rotar texto con CSS3 Crear menu vertical con CSS3 Crear formulario con HTML5 y CSS3 Crear efecto de imagenes apiladas con CSS3 Aplicar estilos para imagenes con CSS3  

Averiguar la Salud del Disco Duro, con Crystal Disk Info [Windows]

Averiguar la Salud del Disco Duro, con Crystal Disk Info [Windows] : El actual “cuello de botella” en nuestras PCs; es decir, donde todo el rendimiento de nuestra PC llega a estancarse , es en el Disco Duro. Si bien los procesadores han evolucionado considerablemente en velocidad / rendimiento, el RAM no sólo es más económico, sino más veloz, y las tarjetas de video siguen innovando con cada generación, los discos duros han permanecido idénticos desde hace años, limitados por la física. Y es que un disco duro tradicional sólo tiene un máximo de velocidad con el que puede girar (medido en revoluciones por minuto, o RPM) que, a su vez, limita la velocidad de lectura y escritura. En pocas palabras, a pesar de que nuestras PCs pueden procesar información mucho más rápido que hace 5 años, los discos duros siguen leyendo (y escribiendo) esta información prácticamente a la misma velocidad. Esto ha cambiado con la llegada de los SSD, los Discos de Estado Sólo que no están limitados por la velo...

Learn Composition from the Photography of Henri Cartier-Bresson

“Do you see it?” This question is a photographic mantra. Myron Barnstone , my mentor, repeats this question every day with the hopes that we do “see it.” This obvious question reminds me that even though I have seen Cartier-Bresson’s prints and read his books, there are major parts of his work which remain hidden from public view. Beneath the surface of perfectly timed snap shots is a design sensibility that is rarely challenged by contemporary photographers. Henri Cartier-Bresson. © Martine Franck Words To Know 1:1.5 Ratio: The 35mm negative measures 36mm x 24mm. Mathematically it can be reduced to a 3:2 ratio. Reduced even further it will be referred to as the 1:1.5 Ratio or the 1.5 Rectangle. Eyes: The frame of an image is created by two vertical lines and two horizontal lines. The intersection of these lines is called an eye. The four corners of a negative can be called the “eyes.” This is extremely important because the diagonals connecting these lines will form the breakdown ...